Create an Issue in JIRA
| In JIRA Software project, open your project and select the Create button |  |
| The standard Issue creation popup will appear, fill in all details of the issue you would like to create as you normally would | 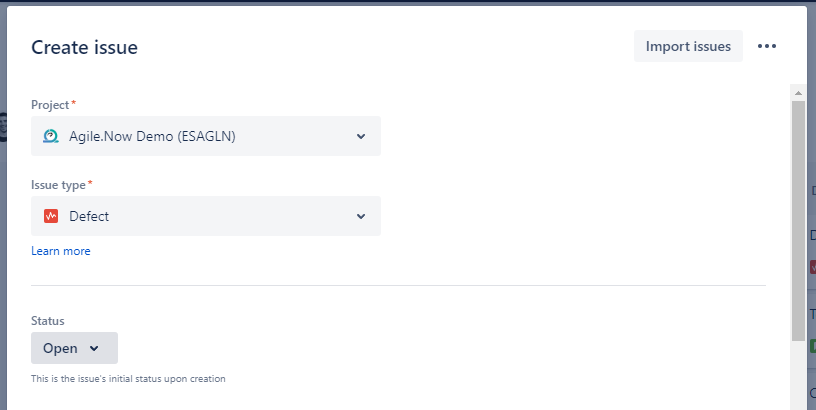 |
| You can now open the issue from the link provided by JIRA |  |
| In the right panel, expand the More fields | 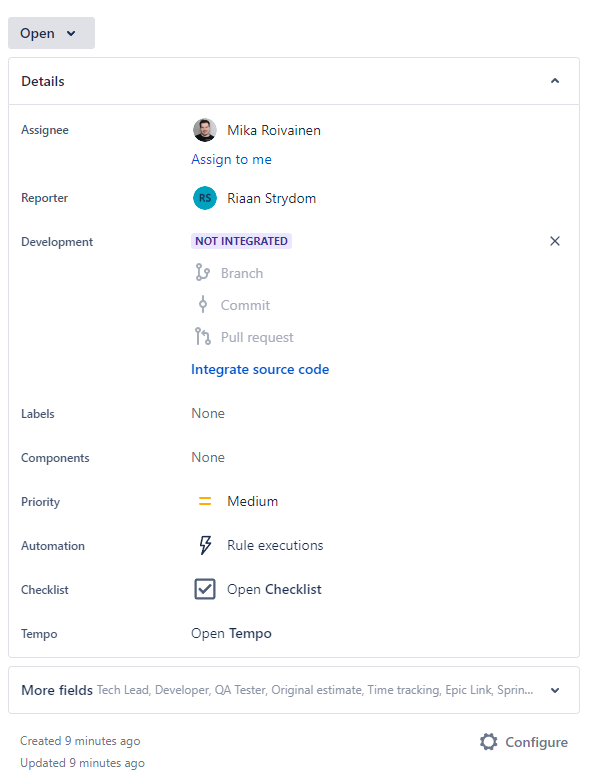 |
| * You can also configure your view to include these fields by default on the opened top panel | 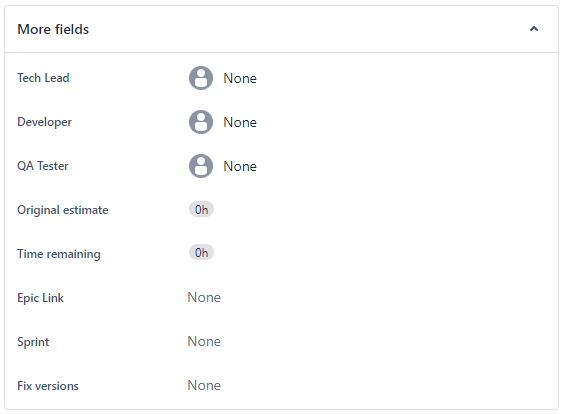 |
| Set Fix versions to same version or later as configured in your Agile.Now / Projects / MyProject / General configuration page |  |
| Set Status of Issue to one of the mappings as configured in Agile.Now / Projects / MyProject / Mapping | 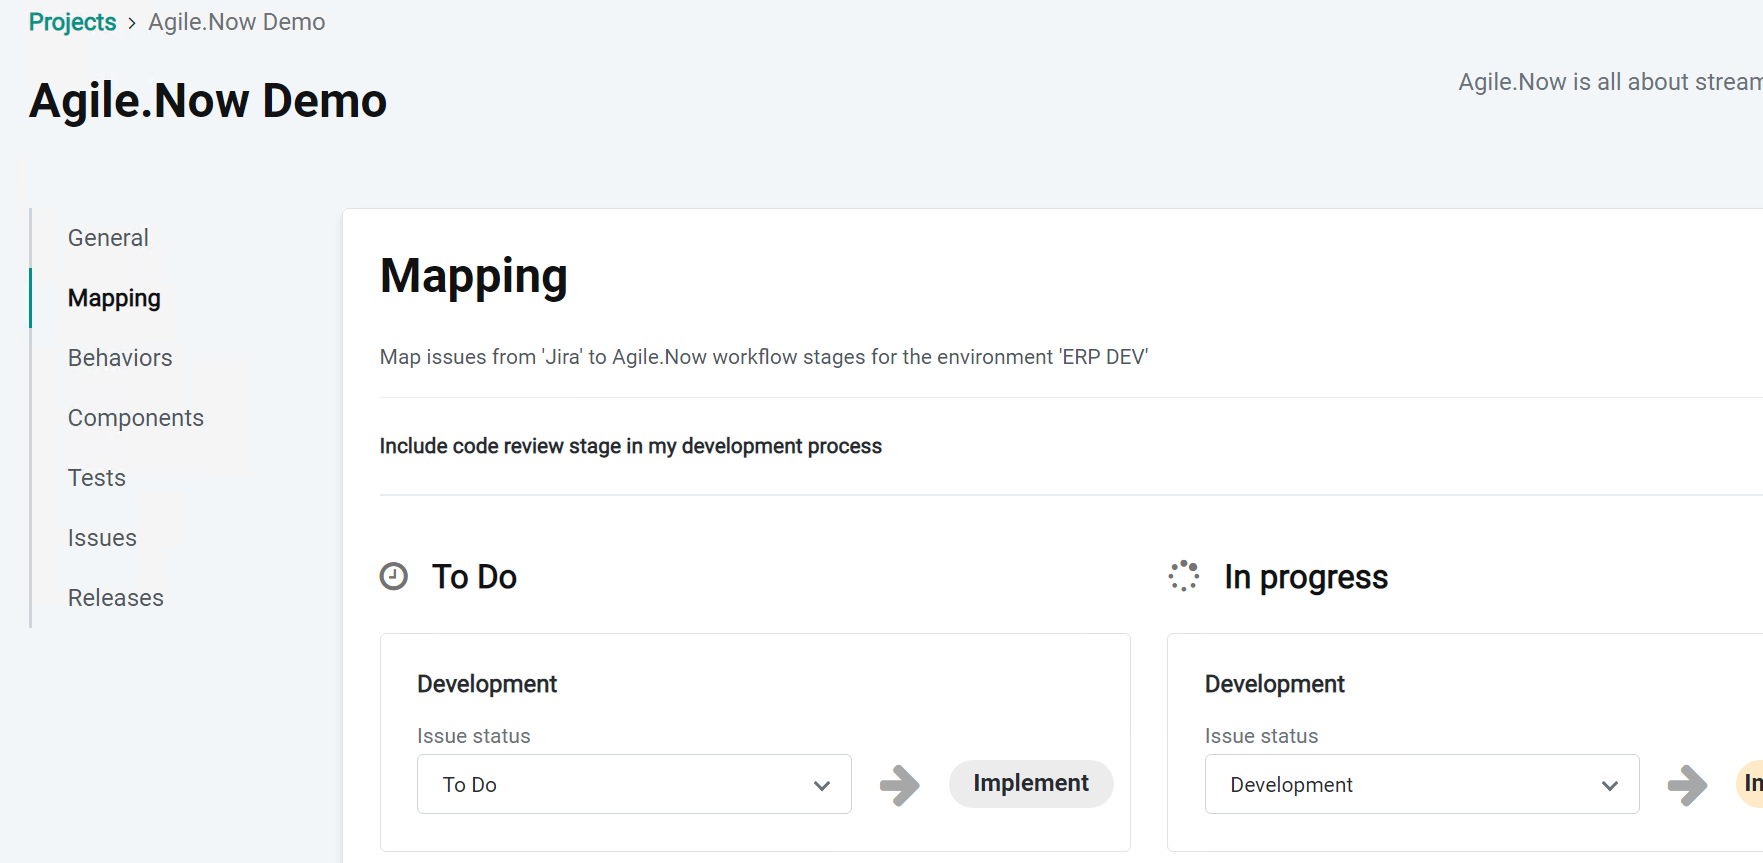 |
| In our example, we have set status to Ready for Development, and after that we can select Start Development which is mapped to Agile.Now Mapping for To Do | 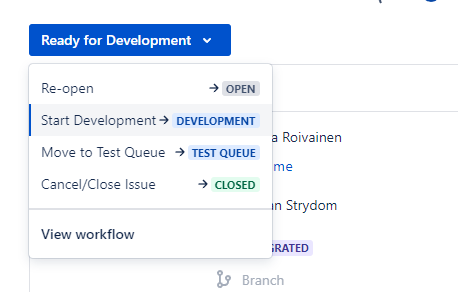 |
| On the Agile.Now Dashboard, you can now select the Sync button if you want the issue to display immediately |  |
| The newly created issue is now available on the Dashboard and can follow the standard Agile.Now process of being managed. | 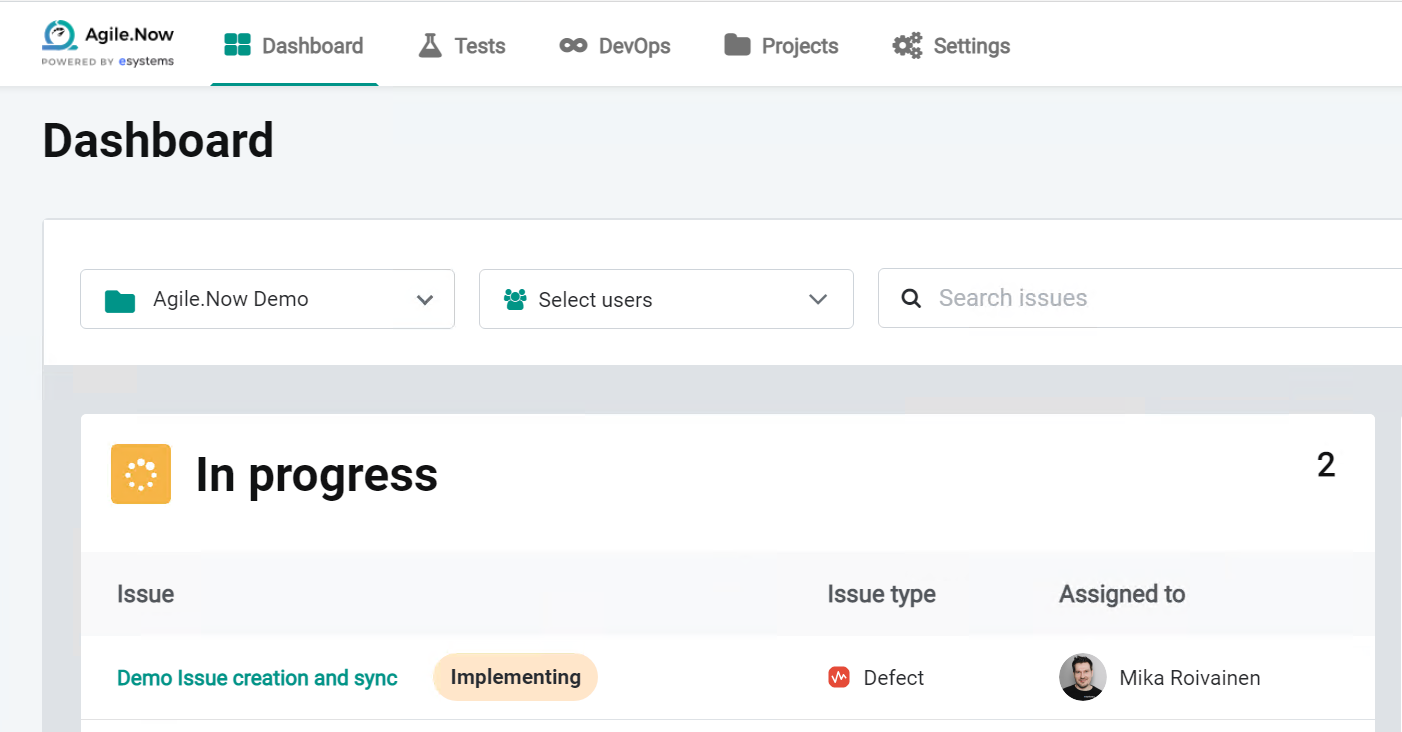 |