Implementing OAuth2 authentication on the Agile.Now platform is essential for securing your applications, ensuring that access is granted only to authorized users and systems. This comprehensive guide walks you through the setup process for OAuth2 authentication.
Prerequisites
- Ensure you have the
Securityrole with create and update permissions.
Step-by-Step Guide to Setting Up OAuth2 Authentication
-
Access the Credentials Section:
Begin by navigating to theCredentialsection within the settings application of your Agile.Now platform. -
Create a New Credential:
Click on theNew credentialbutton to start the process of creating a new OAuth2 credential. -
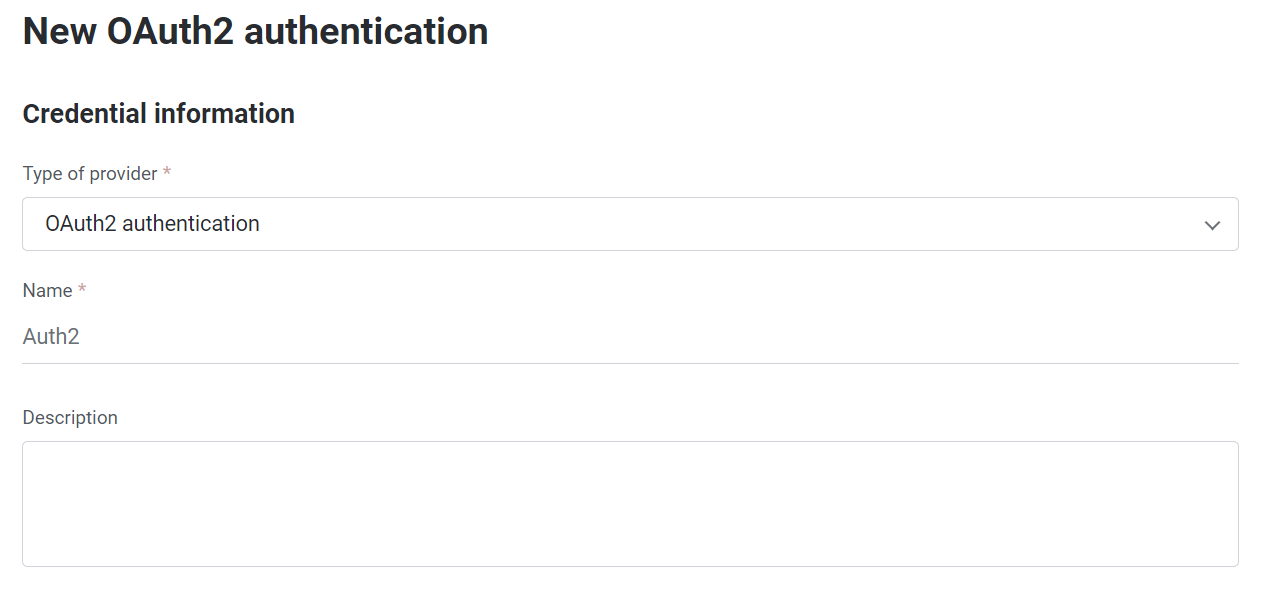
Select the Authentication Type:
When prompted by the Wizard app, selectOAuth2 authenticationas the desired authentication method. -
Credential Naming:
Provide a descriptive name for the credential that clearly identifies its use, like "Postman OAuth2 provider," and proceed with theNextbutton.
-
Client Credentials:
Agile.Now generates theClient IDandClient Secret. These are essential for OAuth2 authentication and must be securely stored. -
Choose JWT Signature Algorithm:
Select a secure signature algorithm for the JSON Web Tokens (JWT), such asRS256, which is commonly used for its robust security features.

-
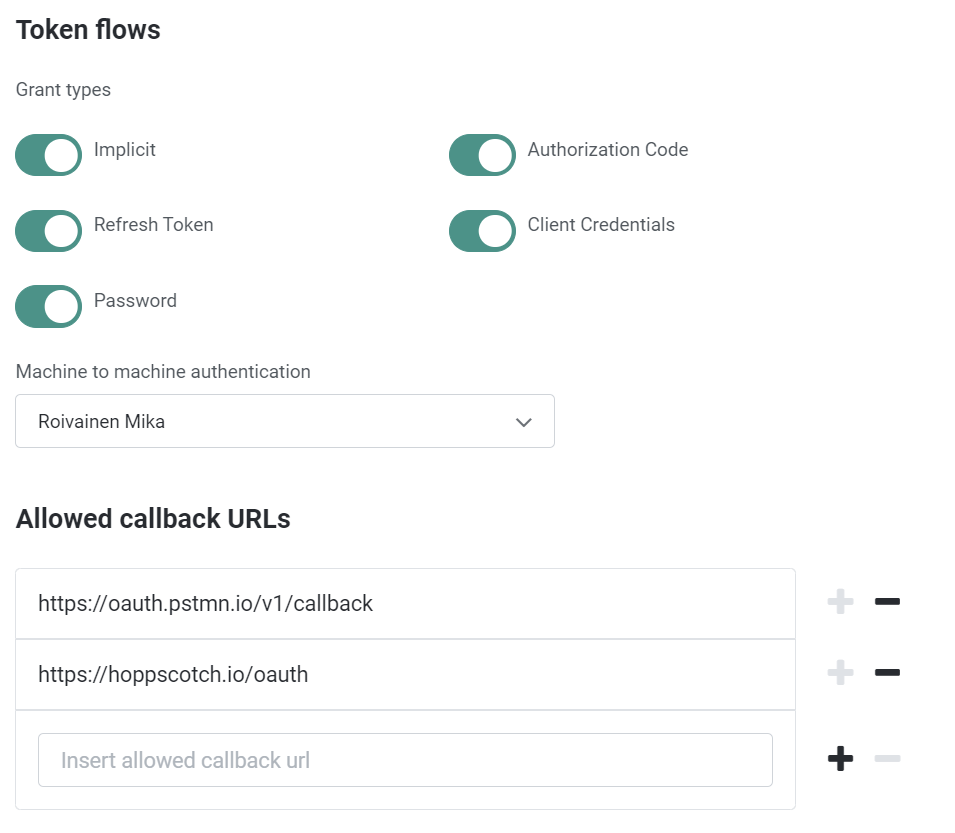
Configure Token Flows:
Set up the OAuth2 token flows that your application requires. This could include:-
Implicit: A less secure flow, generally used by clients unable to hold secrets.
-
Refresh Token: Used to obtain new access tokens without the need for additional user authentication.
-
Password: Exchanges a username and password for an access token, typically employed by trusted clients.
-
Authorization Code: Ideal for clients that can keep a client secret confidential.
-
Client Credentials: Best suited for server-to-server communication, where the client acts on its own behalf.
-
If using the "Client Credentials" flow, select an appropriate user for machine-to-machine authentication, which will represent the system during the authentication process.
-
With the "Authorization Code" flow, make sure to enter the allowed callback and logout URLs as provided by your OAuth2 provider.
-
-
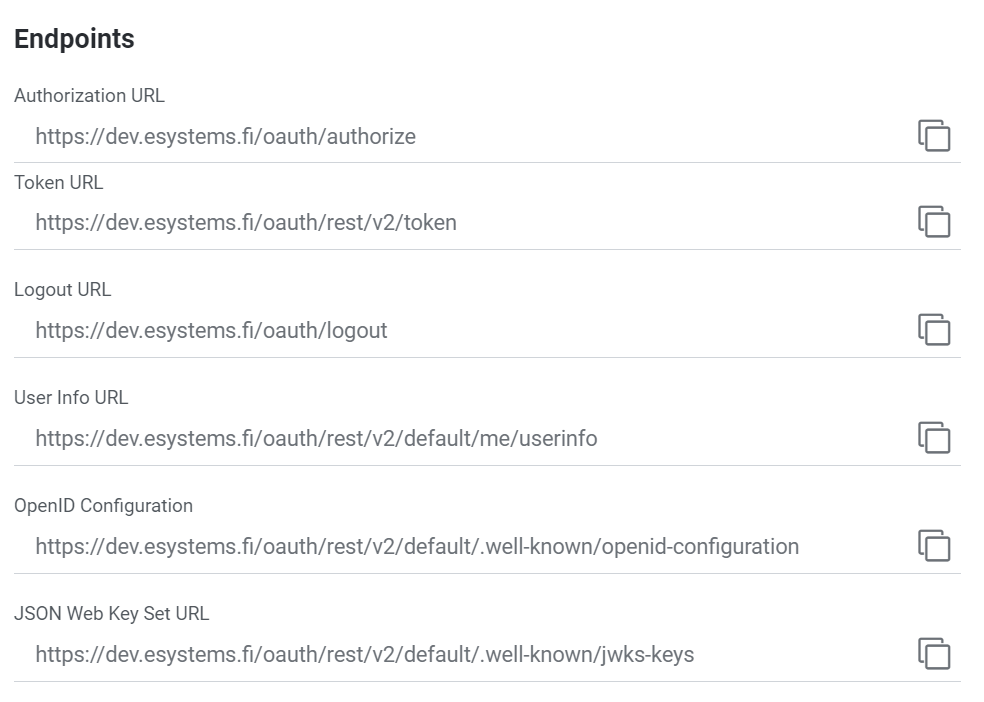
Endpoint Configuration:
TheEndpointstab is where you can configure and verify the standard OAuth2 endpoints that Agile.Now will use. These endpoints are critical for the OAuth2 process and include:- Authorization URL: The URL where users are redirected to authenticate and authorize access.
- Token URL: The URL where the authorization code is exchanged for an access token.
- Logout URL: The URL to which users are redirected after logging out.
- User Info URL: The URL used to retrieve user information after authentication.
- OpenID Configuration: A well-known URL that provides the configuration details for the OpenID provider.
- JSON Web Key Set (JWKS) URL: The URL where the public keys used to verify the JWT signature are hosted.
Ensure all these URLs are correctly configured according to your OAuth2 provider’s specifications.
-
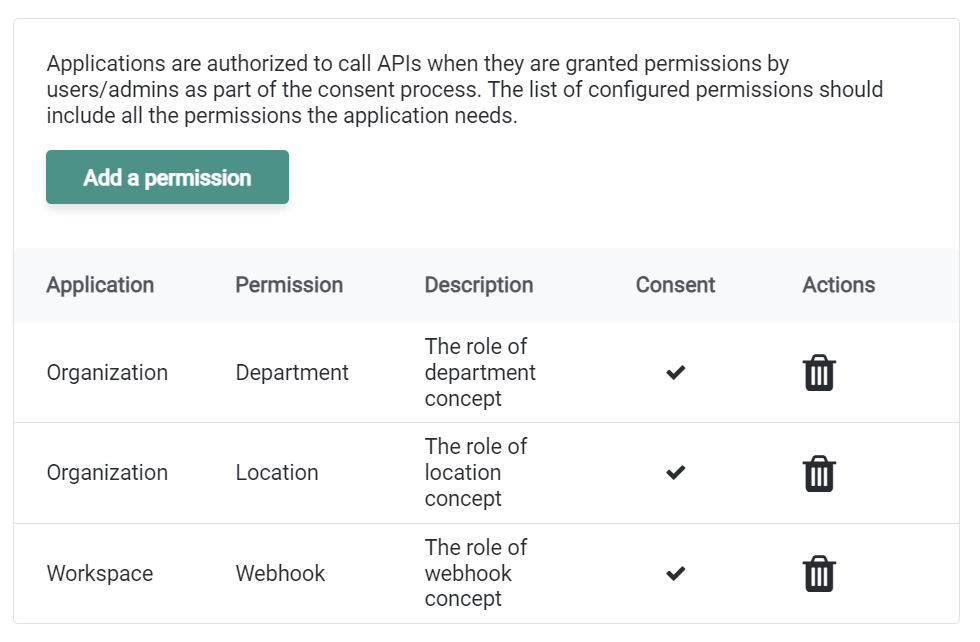
Permissions Tab Configuration:
ThePermissionstab allows you to specify which APIs the OAuth2 application can access and manage token scopes. Configuring these permissions correctly is vital to ensure that the application has the necessary access while adhering to the principle of least privilege.- Application: The specific application or service the permission applies to.
- Permission: The exact permission granted (e.g., read, write, delete).
- Description: A brief description of what the permission entails.
- Consent: Indicates whether user/admin consent is required for the application to access the API.
- Actions: Provides the option to add or remove permissions.
To add or delete scopes for the token:
- Use the search bar to find specific permissions.
- Toggle the switch next to each permission to enable or disable it.
- Click
Saveafter making changes to ensure they are applied.
-
Activate the OAuth2 Provider:
Confirm the accuracy of all the details, then activate your OAuth2 provider by toggling theCredential statusbutton to the 'on' position. -
Save and Test the Configuration:
Once you save the configuration, test the OAuth2 integration to confirm functionality. This should be done using both the standard login page and any external systems that will utilize the OAuth2 authentication.
External Authentication with OpenID
Agile.Now also allows integration with external identity providers such as Microsoft Entra ID or Google OAuth2. This integration enables users to authenticate through these providers instead of directly with Agile.Now.
Conclusion
Activating OAuth2 authentication on the Agile.Now platform fortifies the security of your applications by ensuring that only authorized entities have access. Handling the Client ID and Client Secret with the utmost care is vital for maintaining the security of your authentication system. It is advisable to refer to the OAuth2 standard documentation and your OAuth2 provider's guidelines for detailed technical information and best practices.
By following these steps, you will provide a secure, efficient, and modern authentication experience for the users of your Agile.Now platform.