Here's a step-by-step guide on how to create a new REST interface using the "Endpoint" accelerator for OutSystems developers:
1. Setting Up:
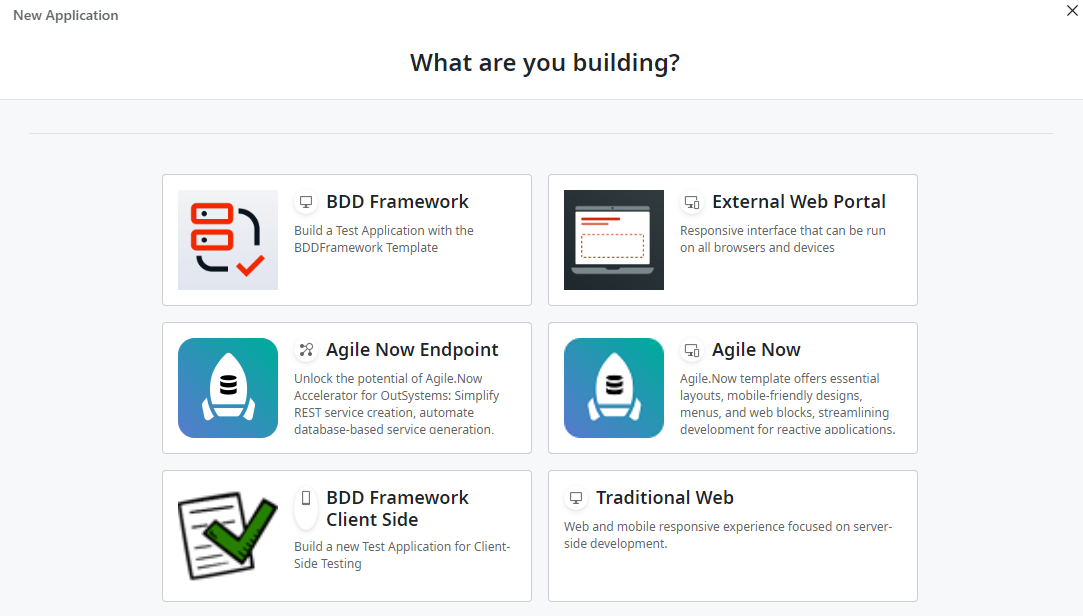
- Installation: First, ensure you have installed the Agile.Now Endpoint accelerator from the OutSystems Forge.
- Initialize: After installation, initialize a new module in OutSystems using the Agile Now Endpoint template. This module will serve as the foundation for developing your REST interface.
2. Creating Your API Documentation:
- Invoke
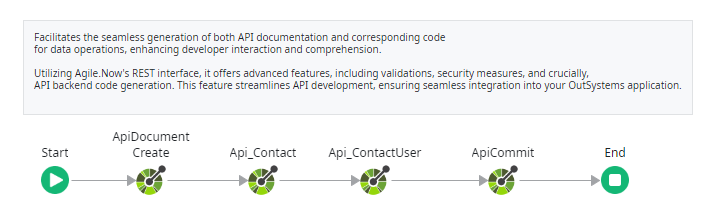
ApiDocumentCreate: Start with theApiDocumentCreatemethod to lay the foundation for your API documentation. This will help streamline management and optimize code generation for your REST service. - Configuration: Configure necessary parameters, descriptions, and meta details to ensure your documentation is comprehensive.
3. Defining Endpoints:
- Use
ApiEndpointCreate: For each REST endpoint, use theApiEndpointCreateaction. Define methods (GET, POST, PUT, DELETE), input parameters, and return types. - Sub-Entities Management: If you need to define relationships between entities, use
ApiEndpointSubCreateto manage sub-entity relationships effectively.
4. Implement Enhanced Security:
- Configure Security Settings: With Endpoint's built-in security features, you can quickly set up authentication and authorization for your endpoints, ensuring that your data remains secure.
5. BDD Testing:
- Write Test Cases: Before deploying your REST interface, use the built-in BDD Testing features of the Endpoint accelerator. This allows you to write test cases in plain language, making sure your endpoints work as expected.
- Run & Validate: Execute your test cases and ensure all scenarios pass. This step ensures the robustness of your developed REST interface.
6. Enable Dynamic Search:
- Integration: Incorporate dynamic search capabilities, allowing consumers of your REST interface to perform advanced search operations on exposed entities seamlessly.
7. Auto Documentation:
- Invoke
ApiCommit: After defining all endpoints, use theApiCommitaction. This finalizes and auto-generates comprehensive API documentation based on configurations and endpoints you've set. - Review & Share: Post generation, your API documentation becomes accessible through a specified URL, allowing both developers and consumers to understand and interact with your REST interface effectively.
8. Deployment:
- Publish: Once you're satisfied with your REST interface, publish your module.
- Test: It's a good practice to test the deployed interface in a real-world scenario, ensuring that it interacts seamlessly with other systems.
9. Continuous Iteration:
Remember that development is an iterative process. As your needs evolve, go back, and refine your endpoints, documentation, and test cases to ensure they align with business requirements.
Closing Thoughts:
Creating a REST interface in OutSystems is greatly simplified and optimized using the Endpoint accelerator. Its feature-rich nature ensures developers can produce high-quality REST services swiftly, without compromising on standards, security, or functionality. By leveraging these tools, developers can bring forth robust and scalable REST interfaces ready for real-world challenges.